
The easiest way to decorate a Christmas tree is in layers, in a fixed order: lights first, then garland, ribbon, ornaments from largest to smallest, picks, and finally the skirt. Working in that order means nothing you add later gets in the way of what came before. The steps below work for real and artificial trees alike.
Before You Start: Tree Placement and Preparation
Choose a spot away from heat sources and direct sunlight, close enough to an outlet that you will not need to run cords across walkways. If you have a real tree, use a stand with a generous water reservoir (a common rule of thumb is about one quart of water per inch of trunk diameter) and check the water level every day. Keep the tree at least three feet from fireplaces, radiators, candles and heat vents, as recommended by the National Fire Protection Association. For an artificial tree, set up the stand on a level surface and make sure the trunk is secure.
Fluffing Artificial Tree Branches
If you have an artificial tree, take time to fluff each branch — separate the tips and spread them outward so the tree looks full and natural. Work from the bottom up, shaping one section at a time. This step makes a huge difference in how realistic your tree appears and gives you a better surface for hanging decorations.
Watering a Real Tree
For a real tree, water it as soon as you bring it inside. A fresh cut on the trunk (about half an inch off the bottom) helps the tree absorb water. Refill the stand daily — a dry tree is a fire hazard and will drop needles quickly. Keep the tree away from direct heat to slow evaporation.
Step 1: Lights
String lights come first because they need to be woven into the branches, and adding them later disturbs ornaments and ribbon. Start at the bottom of the tree and work your way up, plugging in the first string and securing the end near the base.
How Many Lights to Use
A common rule of thumb is 100 lights per foot of tree height. For a 6-foot tree, that’s about 600 lights; for a 7-foot tree, 700 lights. If you prefer a brighter look, you can use more — just make sure your outlets and extension cords are rated for the load. Always check the manufacturer’s instructions for daisy-chaining limits.
Wrapping vs. Weaving
Choose either a vertical wrap or a weaving method. For the wrap, spiral the light string around the tree from bottom to top, winding it around the trunk and out to the branch tips. For a more even glow, weave the lights in and out of branches, going from the trunk to the tip and back. Use light clips to hold wires in place along branches — they prevent sagging and keep cords hidden.
Test Before You Start
Plug in each string before you hang it to check for dead bulbs or broken wires. Replace any burned-out bulbs or fuse issues according to the manufacturer’s instructions. It’s frustrating to discover a dark section after you’ve woven lights through the whole tree.
Step 2: Garland or Beads
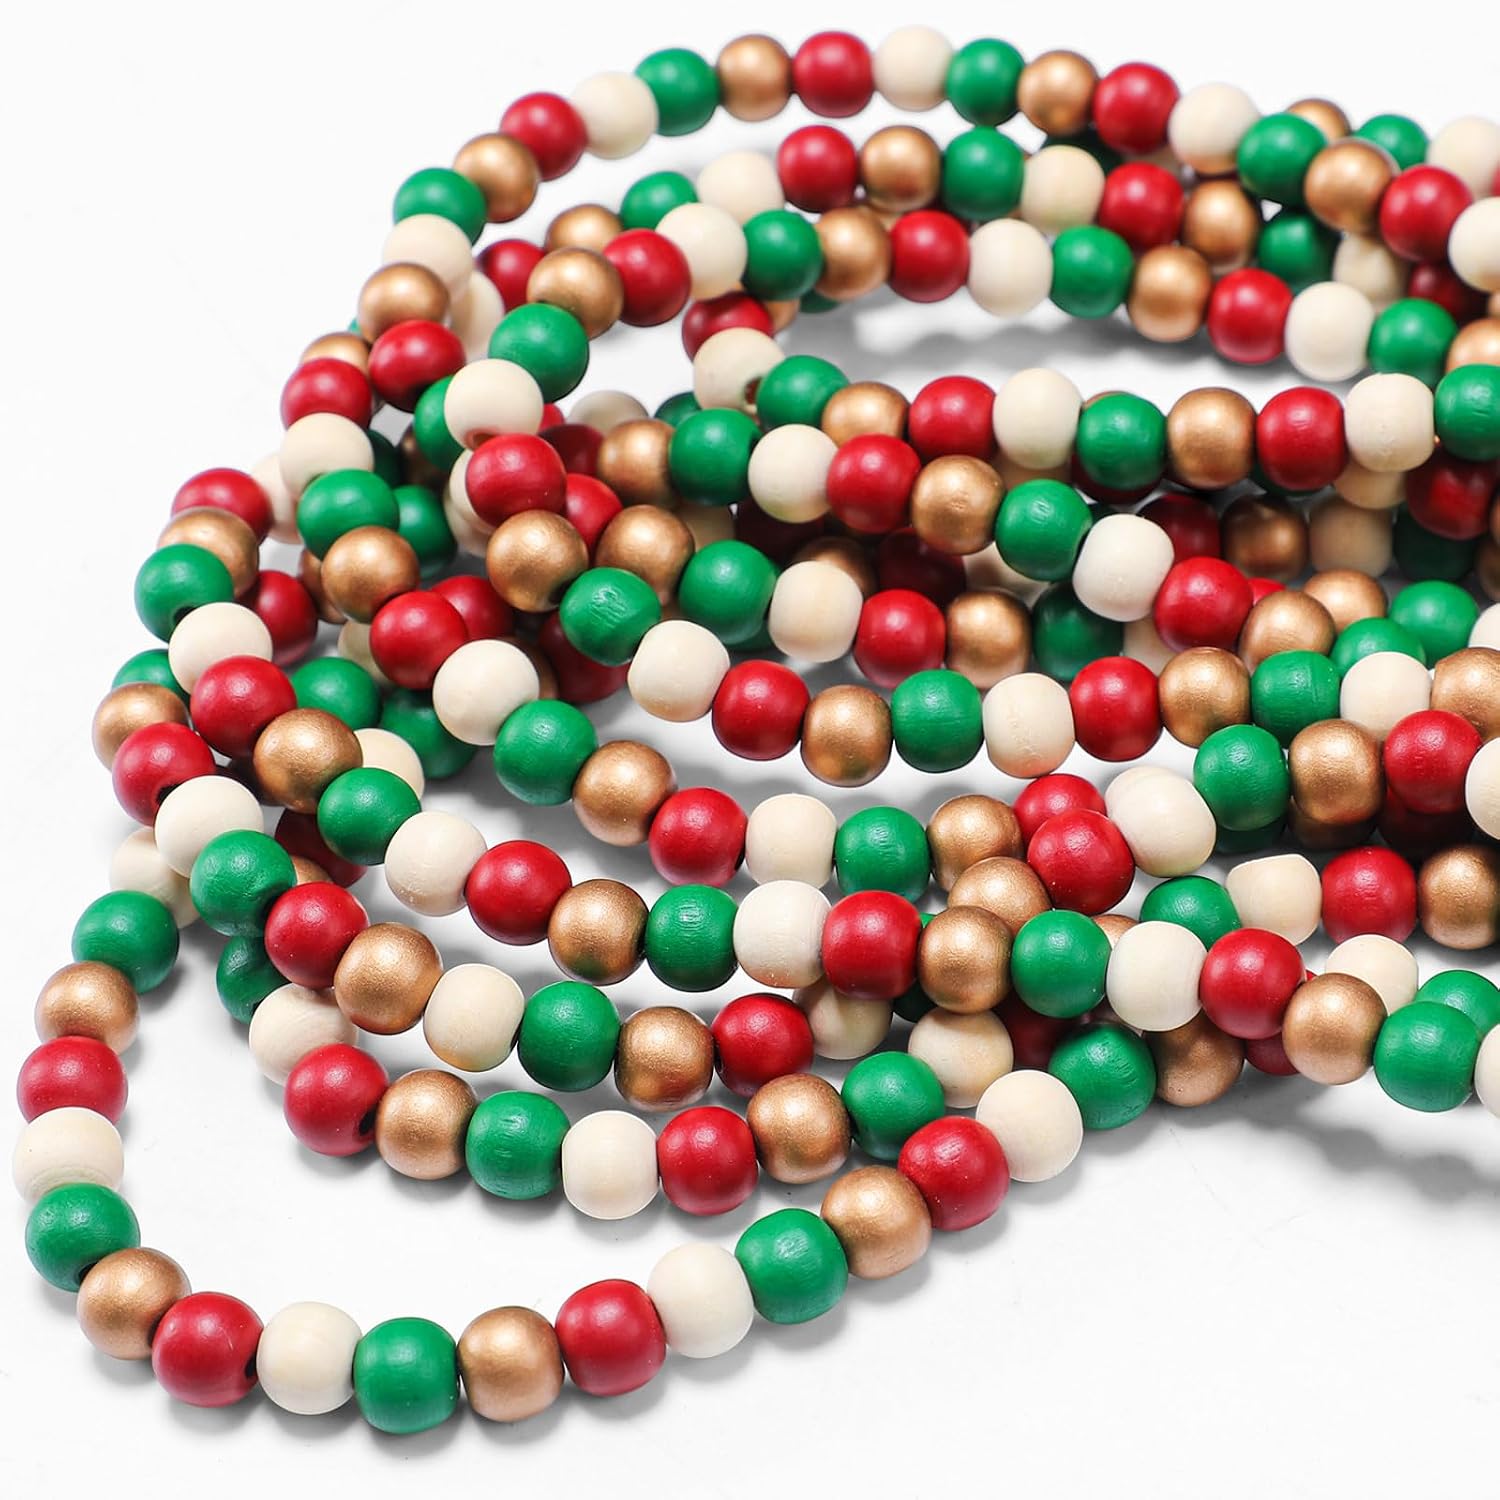
Once the lights are on, add garland or beaded strands. These large decorative elements come next because they drape across branches and define the tree’s shape. Choose one type — garland (tinsel, beaded, or fabric) or a strand of beads — to avoid a cluttered look. Drape the garland in a gentle spiral from top to bottom, letting it rest naturally on the branches. Don’t pull it tight; allow some slack so it sways slightly. For beaded strands, loop them around the tree at several heights, tucking the ends into the branches. If you want a more layered look, you can add a second garland in a complementary color, but keep it minimal.
Step 3: Ribbon
Ribbon adds texture and movement to your tree. Use wired ribbon so you can shape loops and tails. Cut lengths of ribbon (about 2 to 3 feet each) and fold them into loose bows or loops, then tuck the ends into the branches. You can also weave ribbon vertically from top to bottom, twisting it as you go and securing it with floral wire at several points. Work from the top down, spacing the ribbon evenly around the tree. If you’re using multiple ribbon types (a patterned one and a solid one), alternate them. Don’t cover the lights — you want the glow to peek through the ribbon.
Step 4: Ornaments
Ornaments are the main visual layer, so place them after lights, garland, and ribbon. Work in three size groups: large, medium, and small/fillers. This creates depth and prevents a flat, one-dimensional look.
Large Ornaments First
Start with your largest ornaments — these are your statement pieces. Space them evenly around the tree, placing some deep inside the branches and others near the tips. Hang them at varying depths, and spread them so no side of the tree ends up heavier than the others.
Medium Ornaments Next
Add medium-sized ornaments in complementing colors or finishes. Fill in the gaps between the large ones, again varying depth. Aim for a balanced distribution — step back occasionally to check for empty spots.
Small Ornaments and Fillers Last
Finish with small ornaments or filler items like miniature pinecones, berries, or glittery picks. Tuck these into the inner branches and near the trunk to add hidden sparkle. Use shatterproof ornament sets for the smaller pieces — they’re lightweight and less likely to break if they fall. Step back and adjust any ornaments that look out of place or clustered.
Step 5: Picks and Sprays
Picks and sprays are floral stems with leaves, berries, or glittered branches that you insert into the tree to add texture and fullness. After ornaments, push picks into the branch joints so they stick out at different angles. Use a mix of greenery and berry sprays to fill gaps. If your tree looks a bit bare in certain spots, a few well-placed picks will make it look fuller. You can also use them to repeat the accent color of your palette in metallics or natural tones.
Step 6: Topper
Traditionally, the tree topper is placed last, but many decorators prefer to put it on earlier — after the lights and before the ornaments. The reason is simple: a topper (star, angel, bow) is large and can be difficult to secure once ornaments are in the way. If you’re using a star that needs to sit on a central branch, add it right after lights and garland, then arrange the upper ornaments around it. For a bow topper, attach it after you’ve added ribbon so you can match the style. Just make sure the topper is firmly attached and won’t topple if bumped. Check the manufacturer’s instructions for how to secure it to the top branch or trunk.
Step 7: Tree Skirt or Collar
Finish the base with a tree skirt or a tree collar. A skirt covers the stand and catches fallen needles from real trees. A tree collar is a rigid, decorative box or basket that wraps around the base — it gives a cleaner, modern look. Fluff the skirt or collar so it sits evenly. This step also hides any unsightly cords from lights or the stand itself. If you have gifts to place underneath, arrange them on top of the skirt or inside the collar.
Common Mistakes to Avoid
- Rushing the lighting step. If you skip testing lights or don’t spread them evenly, you’ll end up with dark patches that are hard to fix later. Take your time.
- Adding ornaments before garland and ribbon. These larger items need to be placed first; otherwise, ornaments get knocked off or bunched up.
- Hanging all ornaments at the same depth. Varying depth creates a more realistic, lush appearance. Push some deep and pull others to the tips.
- Forgetting to fluff an artificial tree. A flat, compressed tree never looks good no matter how many decorations you add. Spend time on this.
- Using too many colors or themes. Stick to a Christmas tree color scheme for a cohesive look, and limit yourself to two or three main colors plus a neutral.
- Neglecting to water a real tree. A dry tree sheds needles and becomes a fire risk. Check the water level every day.
FAQ
Should I put the topper on first or last?
It depends on the topper type. For a star or angel that sits on the top branch, install it after the lights and before the ornaments so you can arrange branches around it. For a bow, do it last so you can match it to the ribbon. Either way, secure it firmly.
How do I prevent my artificial tree from looking sparse?
Fluff each branch thoroughly — separate all the tips and fan them out. Add picks or sprays in bare spots. If the tree still looks thin, consider a fuller tree next time or use more garland to fill gaps.
Are there extra safety steps for a real tree?
Yes. Keep the stand topped up with water every day, keep the tree well away from heat sources, use lights that carry a safety certification mark and are in good condition, and turn the tree lights off when you go to bed or leave the house. Heavy ornaments can also bend real branches, so hang them close to the trunk.
What’s the best way to store ornaments after Christmas?
Use original packaging or padded storage boxes with dividers for fragile ornaments. For DIY and sentimental pieces, wrap them in tissue or bubble wrap. Store them in a cool, dry place. Store them somewhere cool and dry, away from attic heat.
How do I fix a gap where the tree lights don’t reach?
If you have a dark spot after lighting, you can add a short string of lights on a separate extension cord. Or use battery-operated puck lights tucked into the branches for a quick fix. For next year, plan to use more lights per foot.
Decorating a Christmas tree can be a relaxing tradition when you follow a clear order. Start with setup and lights, then layer in garland, ribbon, ornaments, picks, and topper, and finish with the tree skirt. Work slowly, step back often, and adjust until the tree looks balanced from every angle. If you enjoy making your own ornaments, see our DIY Christmas ornaments ideas for personal touches. And once the holidays are over, check our guide on how to store Christmas decorations to keep everything safe until next year. With a little patience, you’ll have a tree that feels festive and put-together all season long.